Carving a whole Spanish ham takes preparation and practice. This guide explains the order of work and the points that need particular care. If you are inexperienced or uncomfortable working with the leg, ask for an in-person demonstration or arrange professional carving.
1. Set up a stable workstation
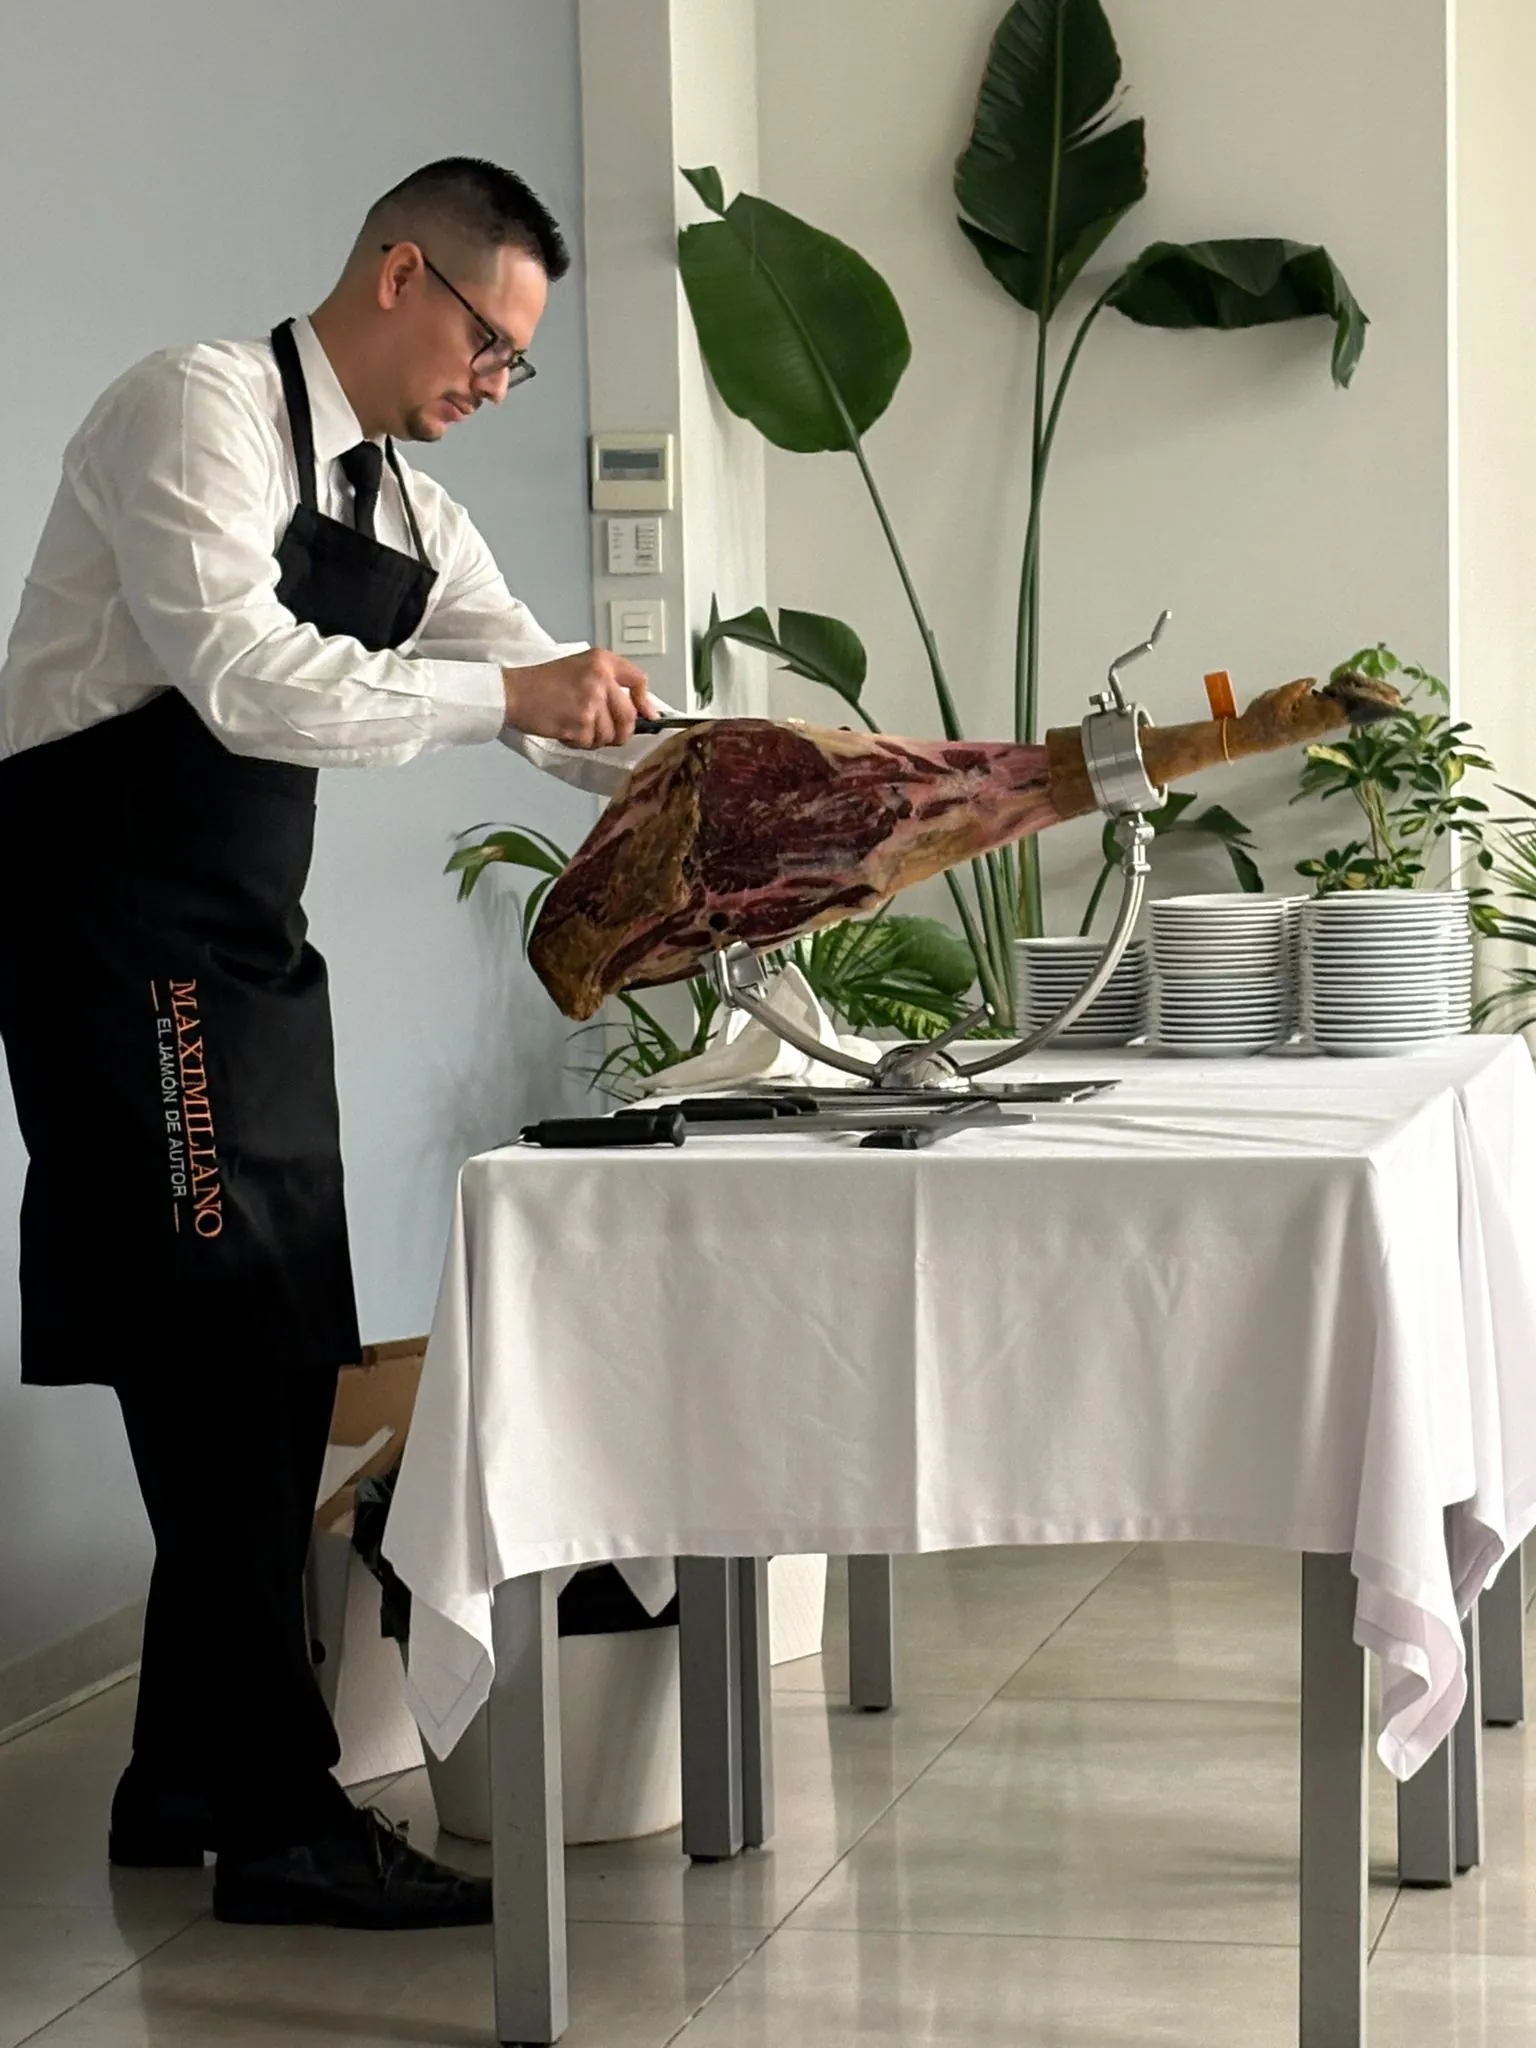
You need a firm table, room to move, adequate lighting and a ham stand that holds the leg without rocking. Keep children and pets away from the workspace. Have one tray for food and another for discarded material, with no loose items beside the blade.
2. Check your tools
The long, flexible ham knife is for slicing. Rind removal and work around the bone require suitable tools, usually shorter and more rigid. Do not use the flexible blade to strike, lever or cut bone. The guide to ham carving equipment explains their different roles.
3. Choose where to begin
For quick consumption, such as at an event, carving often starts with the wider maza. For slower use at home, it may be helpful to open the babilla first because this section tends to dry sooner. The condition of the individual leg and the supplier's advice also matter; the choice does not make the ham keep indefinitely.
4. Trim only the working area
Remove rind and outer fat that has deteriorated until the working section is clean. Retain the edible white fat alongside the meat. Trimming is a separate task from slicing: change your tool and position when necessary, keeping your free hand clear of the blade's path.
5. Work with small, consistent slices
Use a gentle movement without excessive force, keeping the blade close to the plane of the meat. Aim for a thin, comfortable bite rather than cutting across the whole width at once. The exact direction depends on the section and how the leg is mounted; keeping both hands out of the blade's forward path is the priority.
Keep the carving face reasonably level. Stop when you reach bone or hard material and use the appropriate knife to separate the meat. Avoid creating a deep hollow in the middle because it makes later slices harder. Before turning the leg, put the knives down and check the fixings again afterwards.
6. Serve and protect what remains
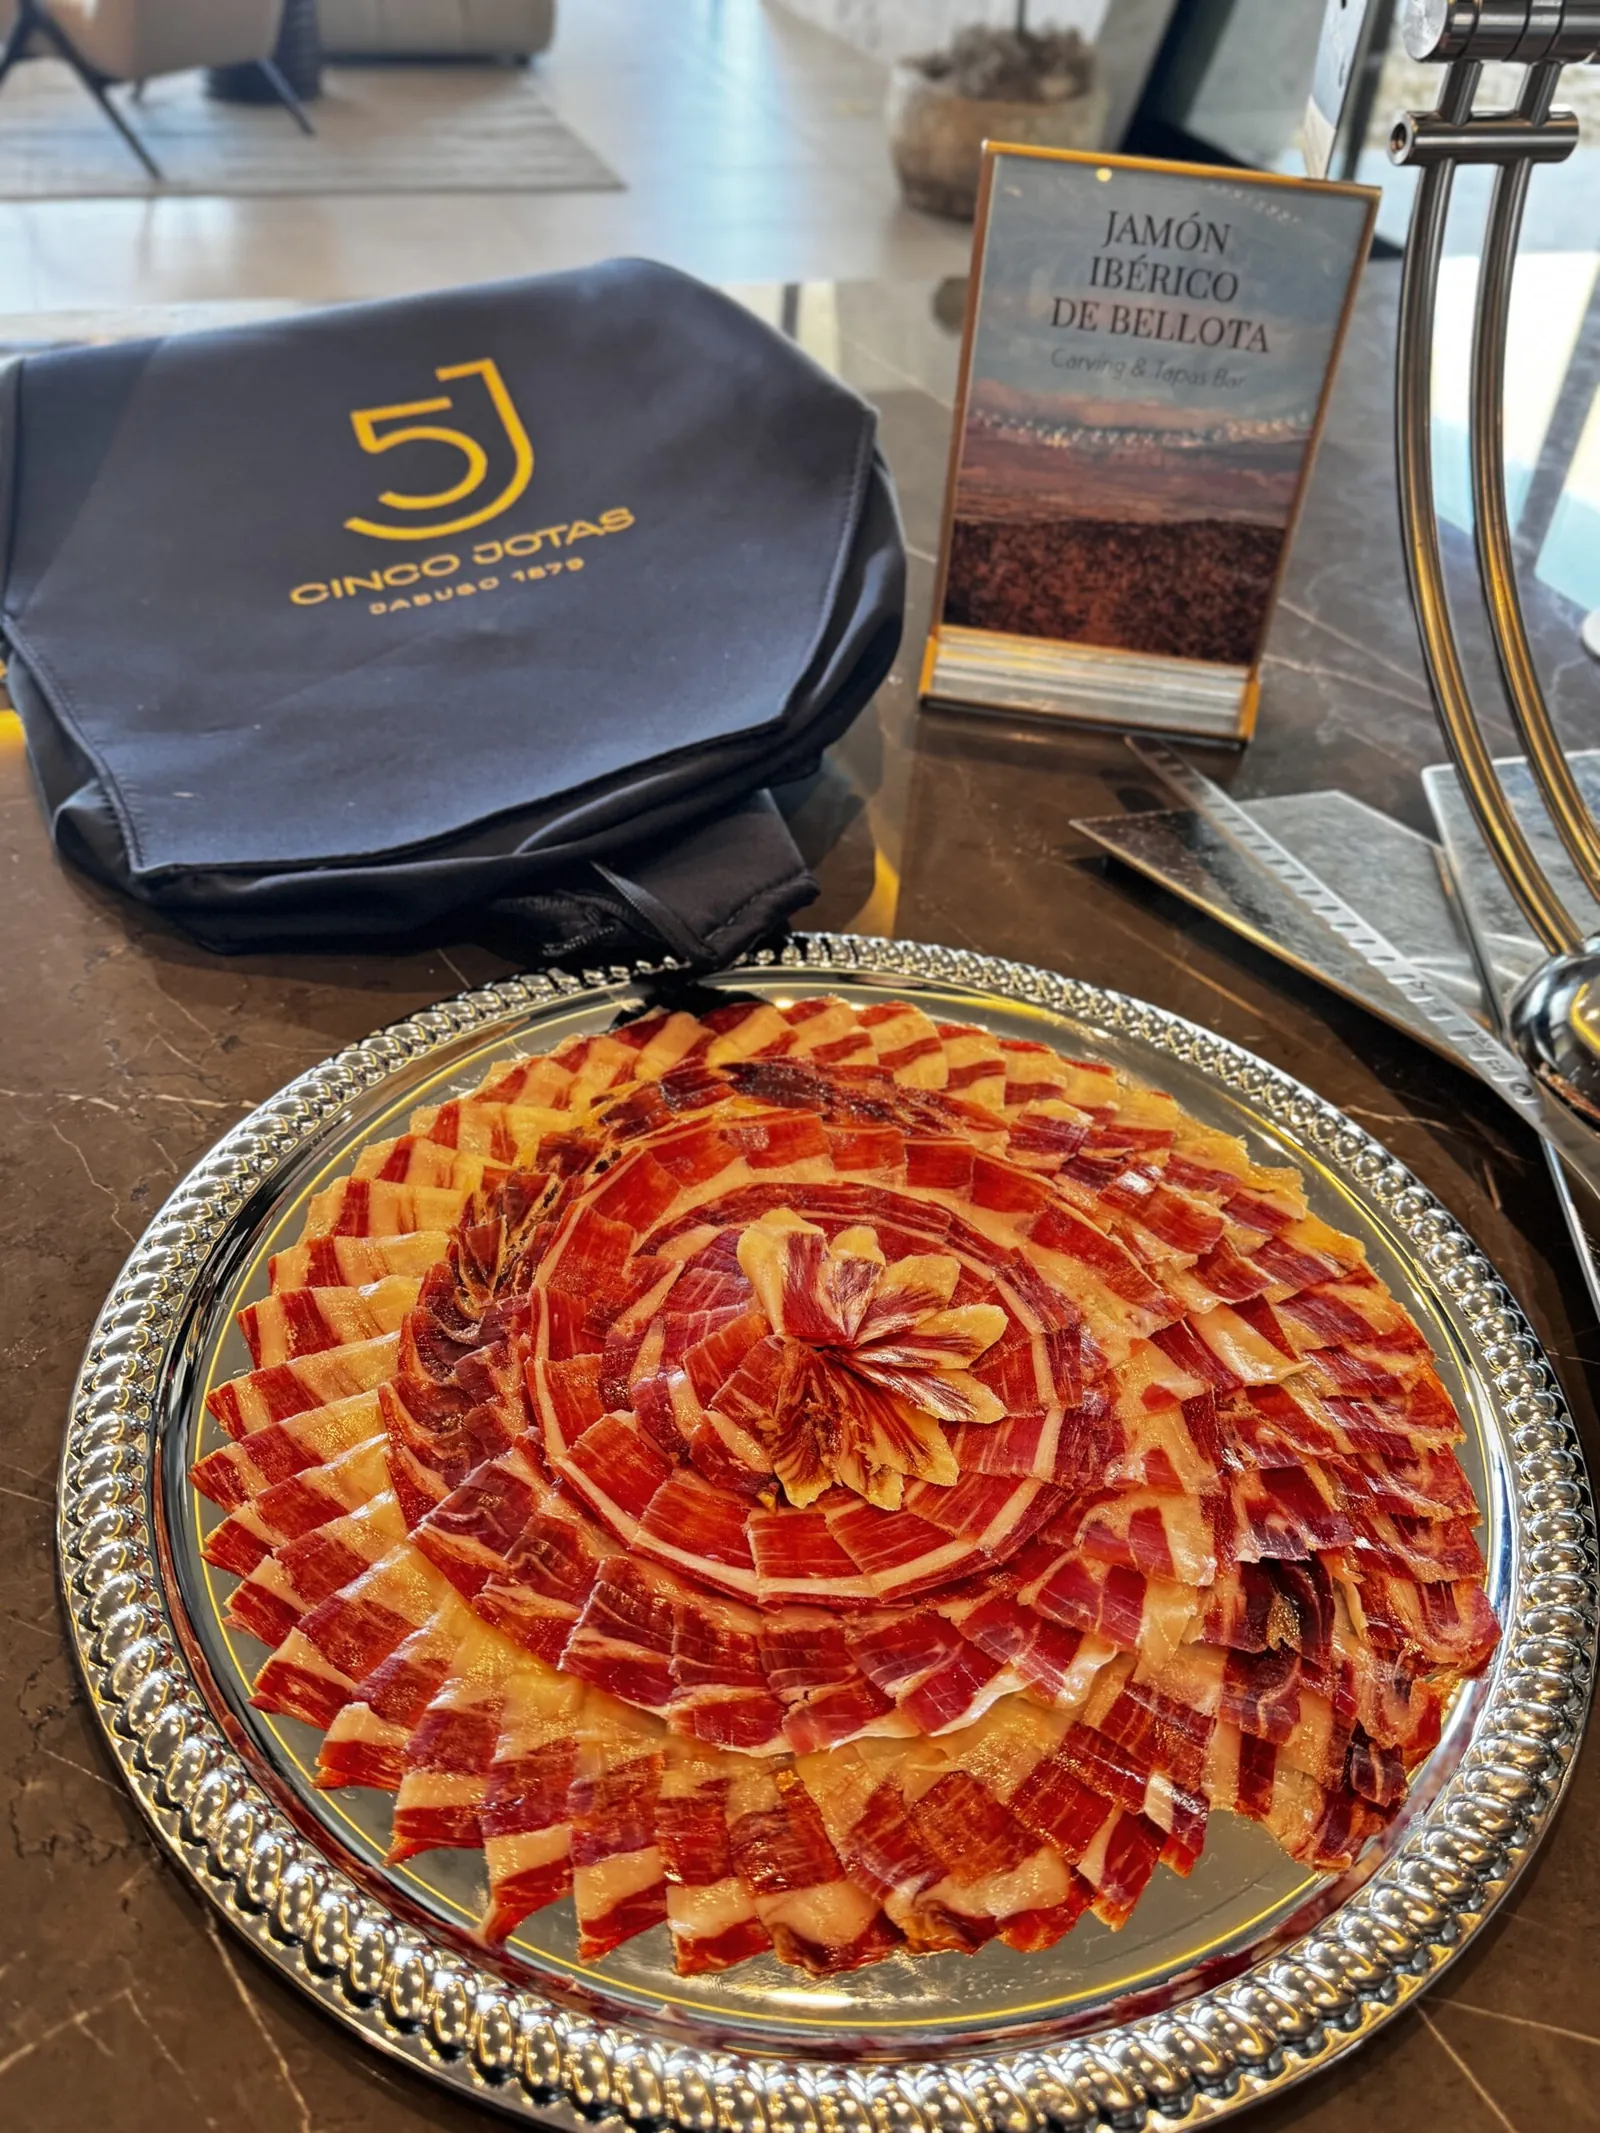
Arrange the slices with little overlap and replenish small amounts. When an area no longer allows comfortable slices, separate usable meat for dice. Afterwards, clean and dry the equipment and protect the cut face as the supplier recommends. The guide to storing and serving ham covers whole legs and sliced packs.
When to arrange professional carving
An unstable table, unsuitable knives or a large guest list are good reasons to hand over the work. With private ham carving, you can ask about carving your own leg or a proposal that includes selecting the product.
Explore ham carving for weddings, corporate events and private celebrations.
Check availability ↗