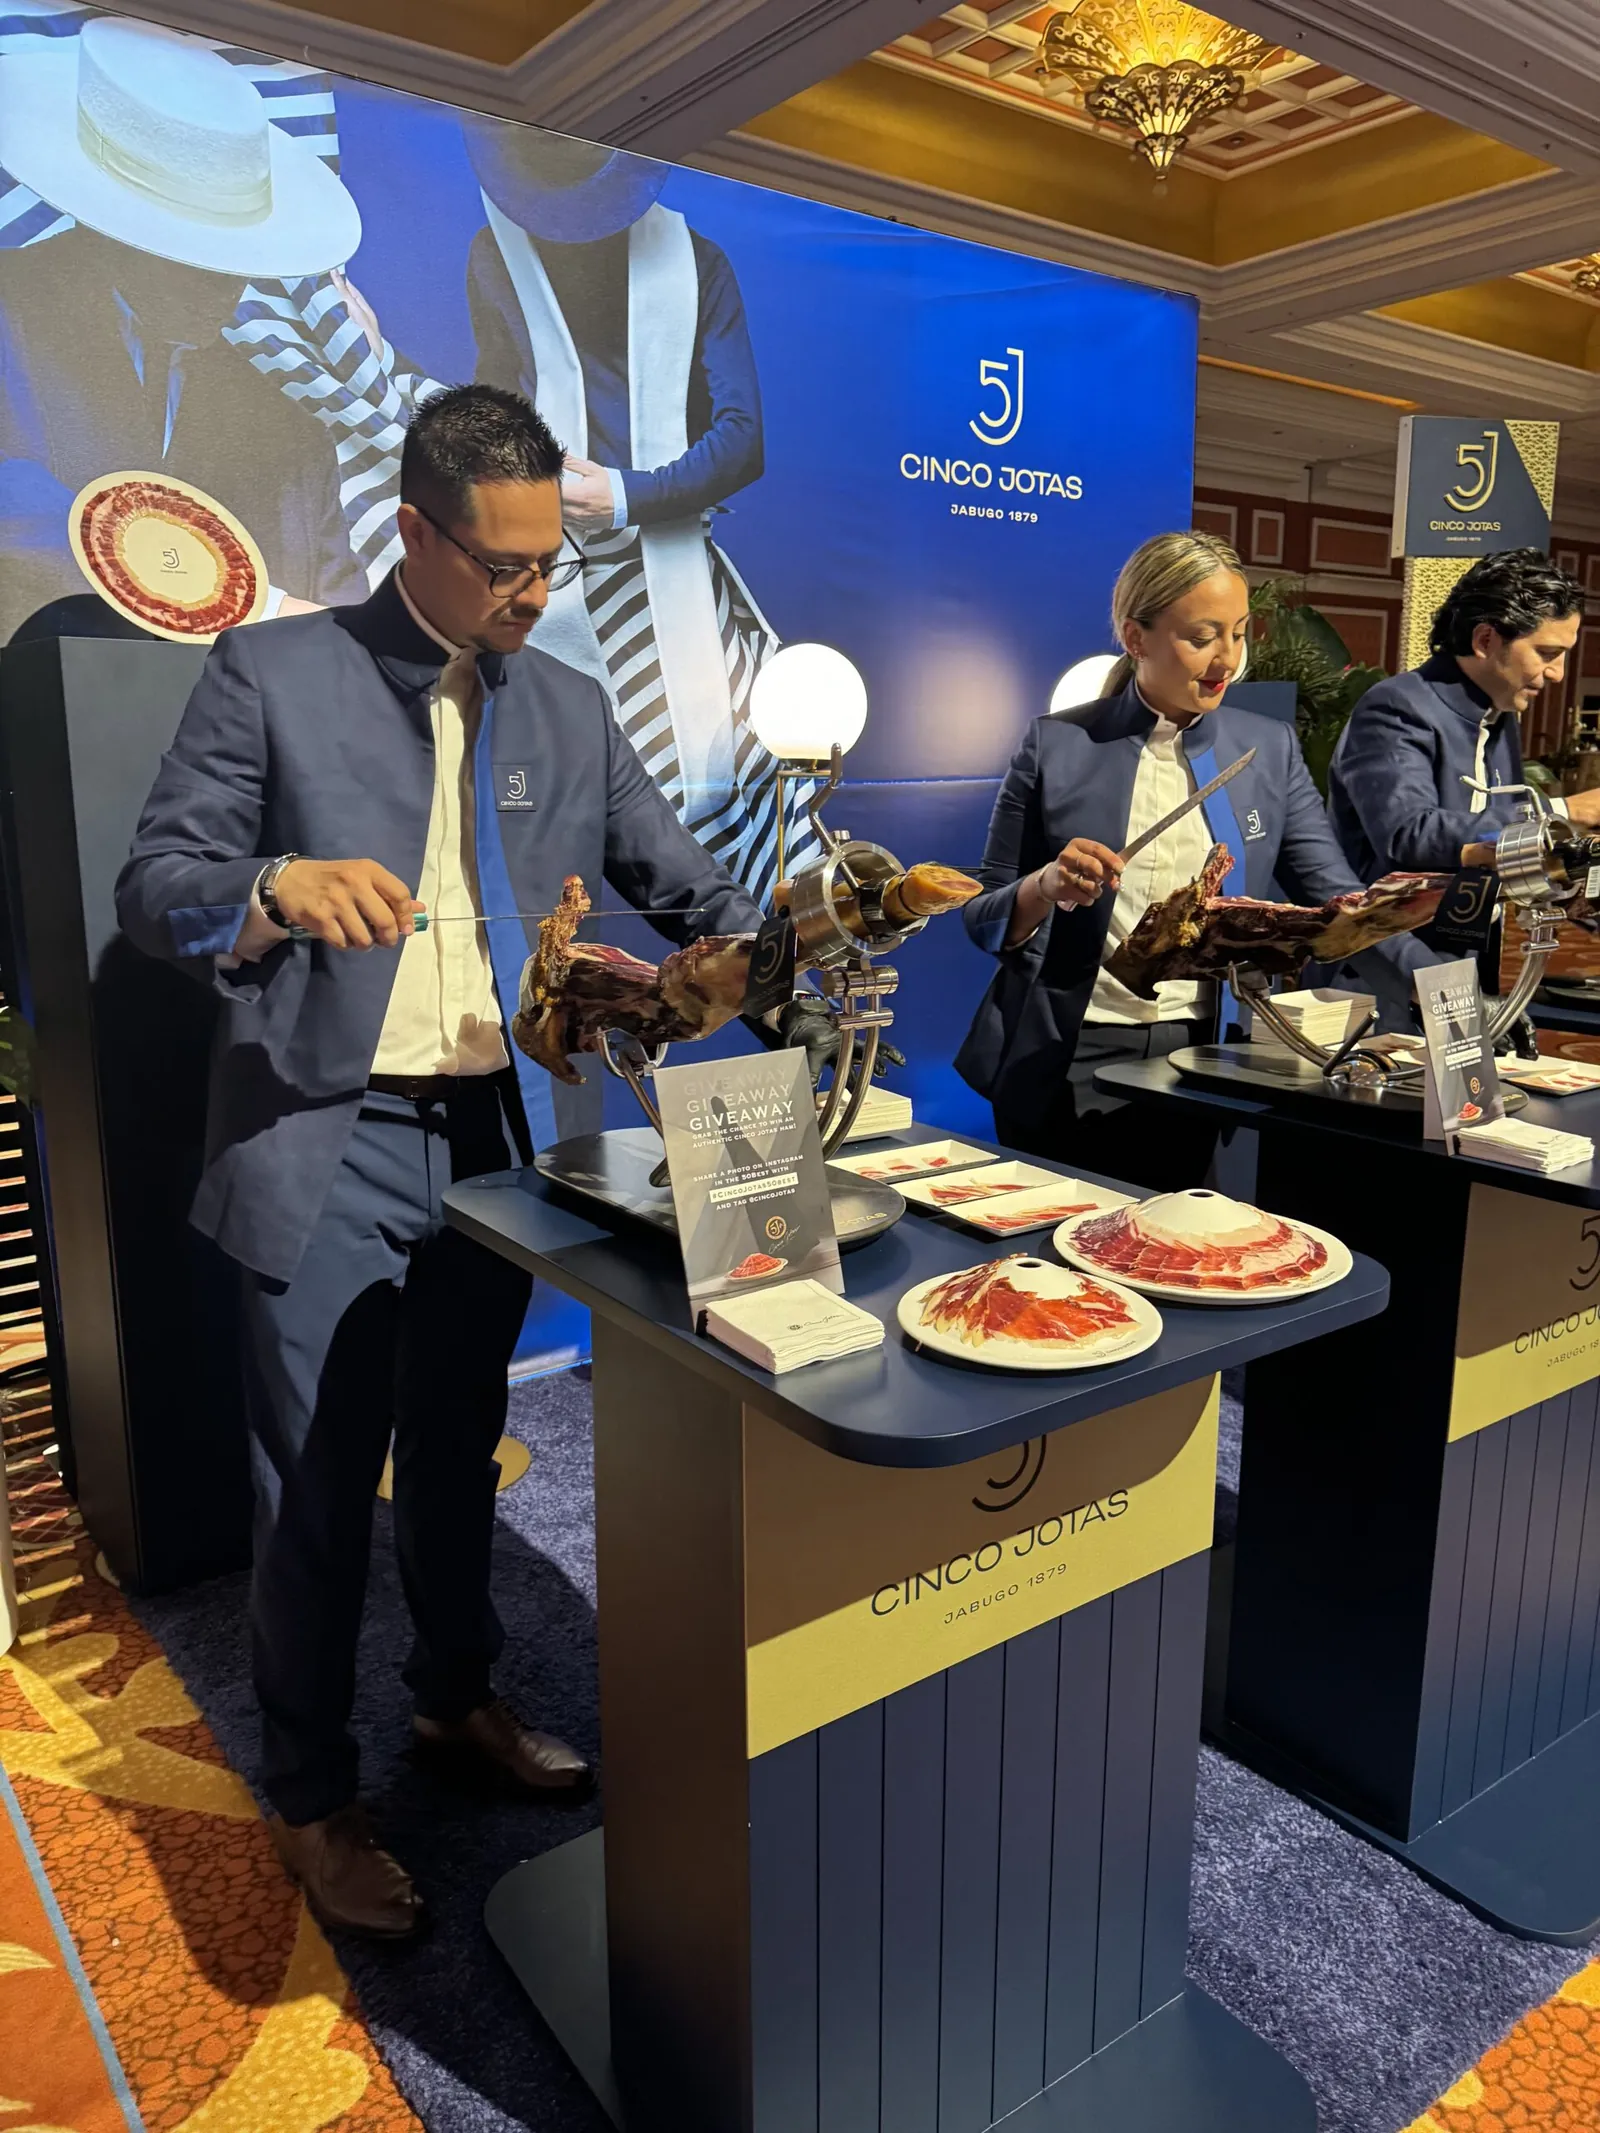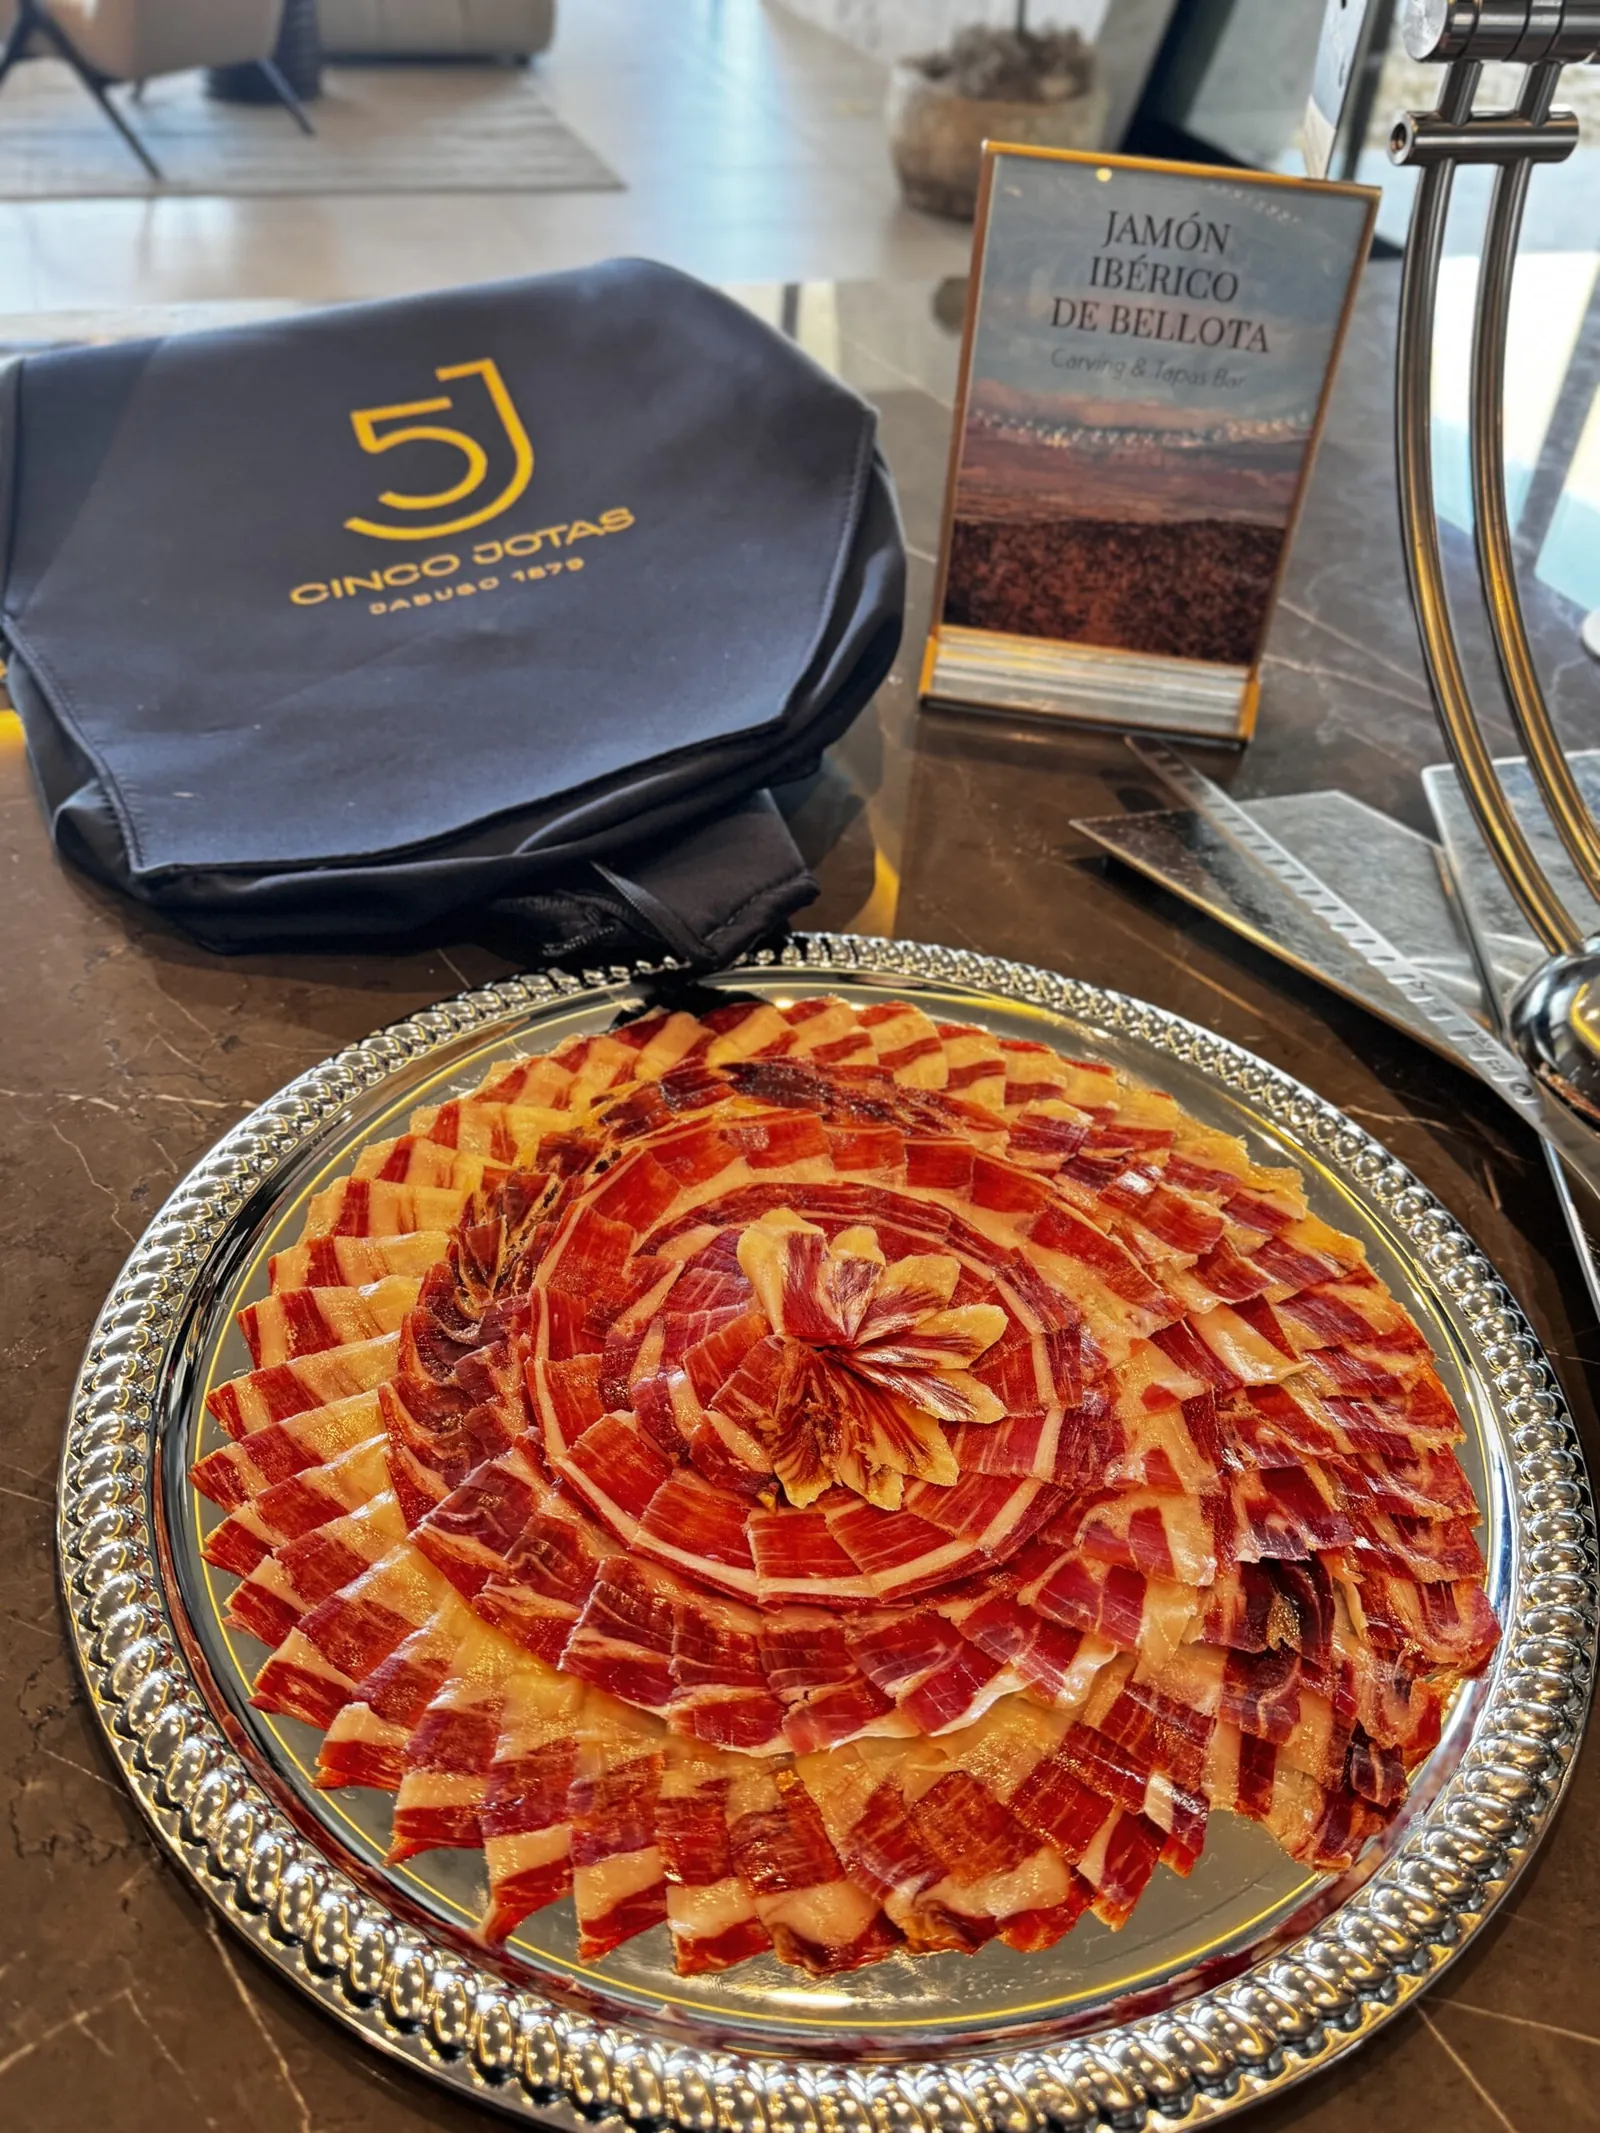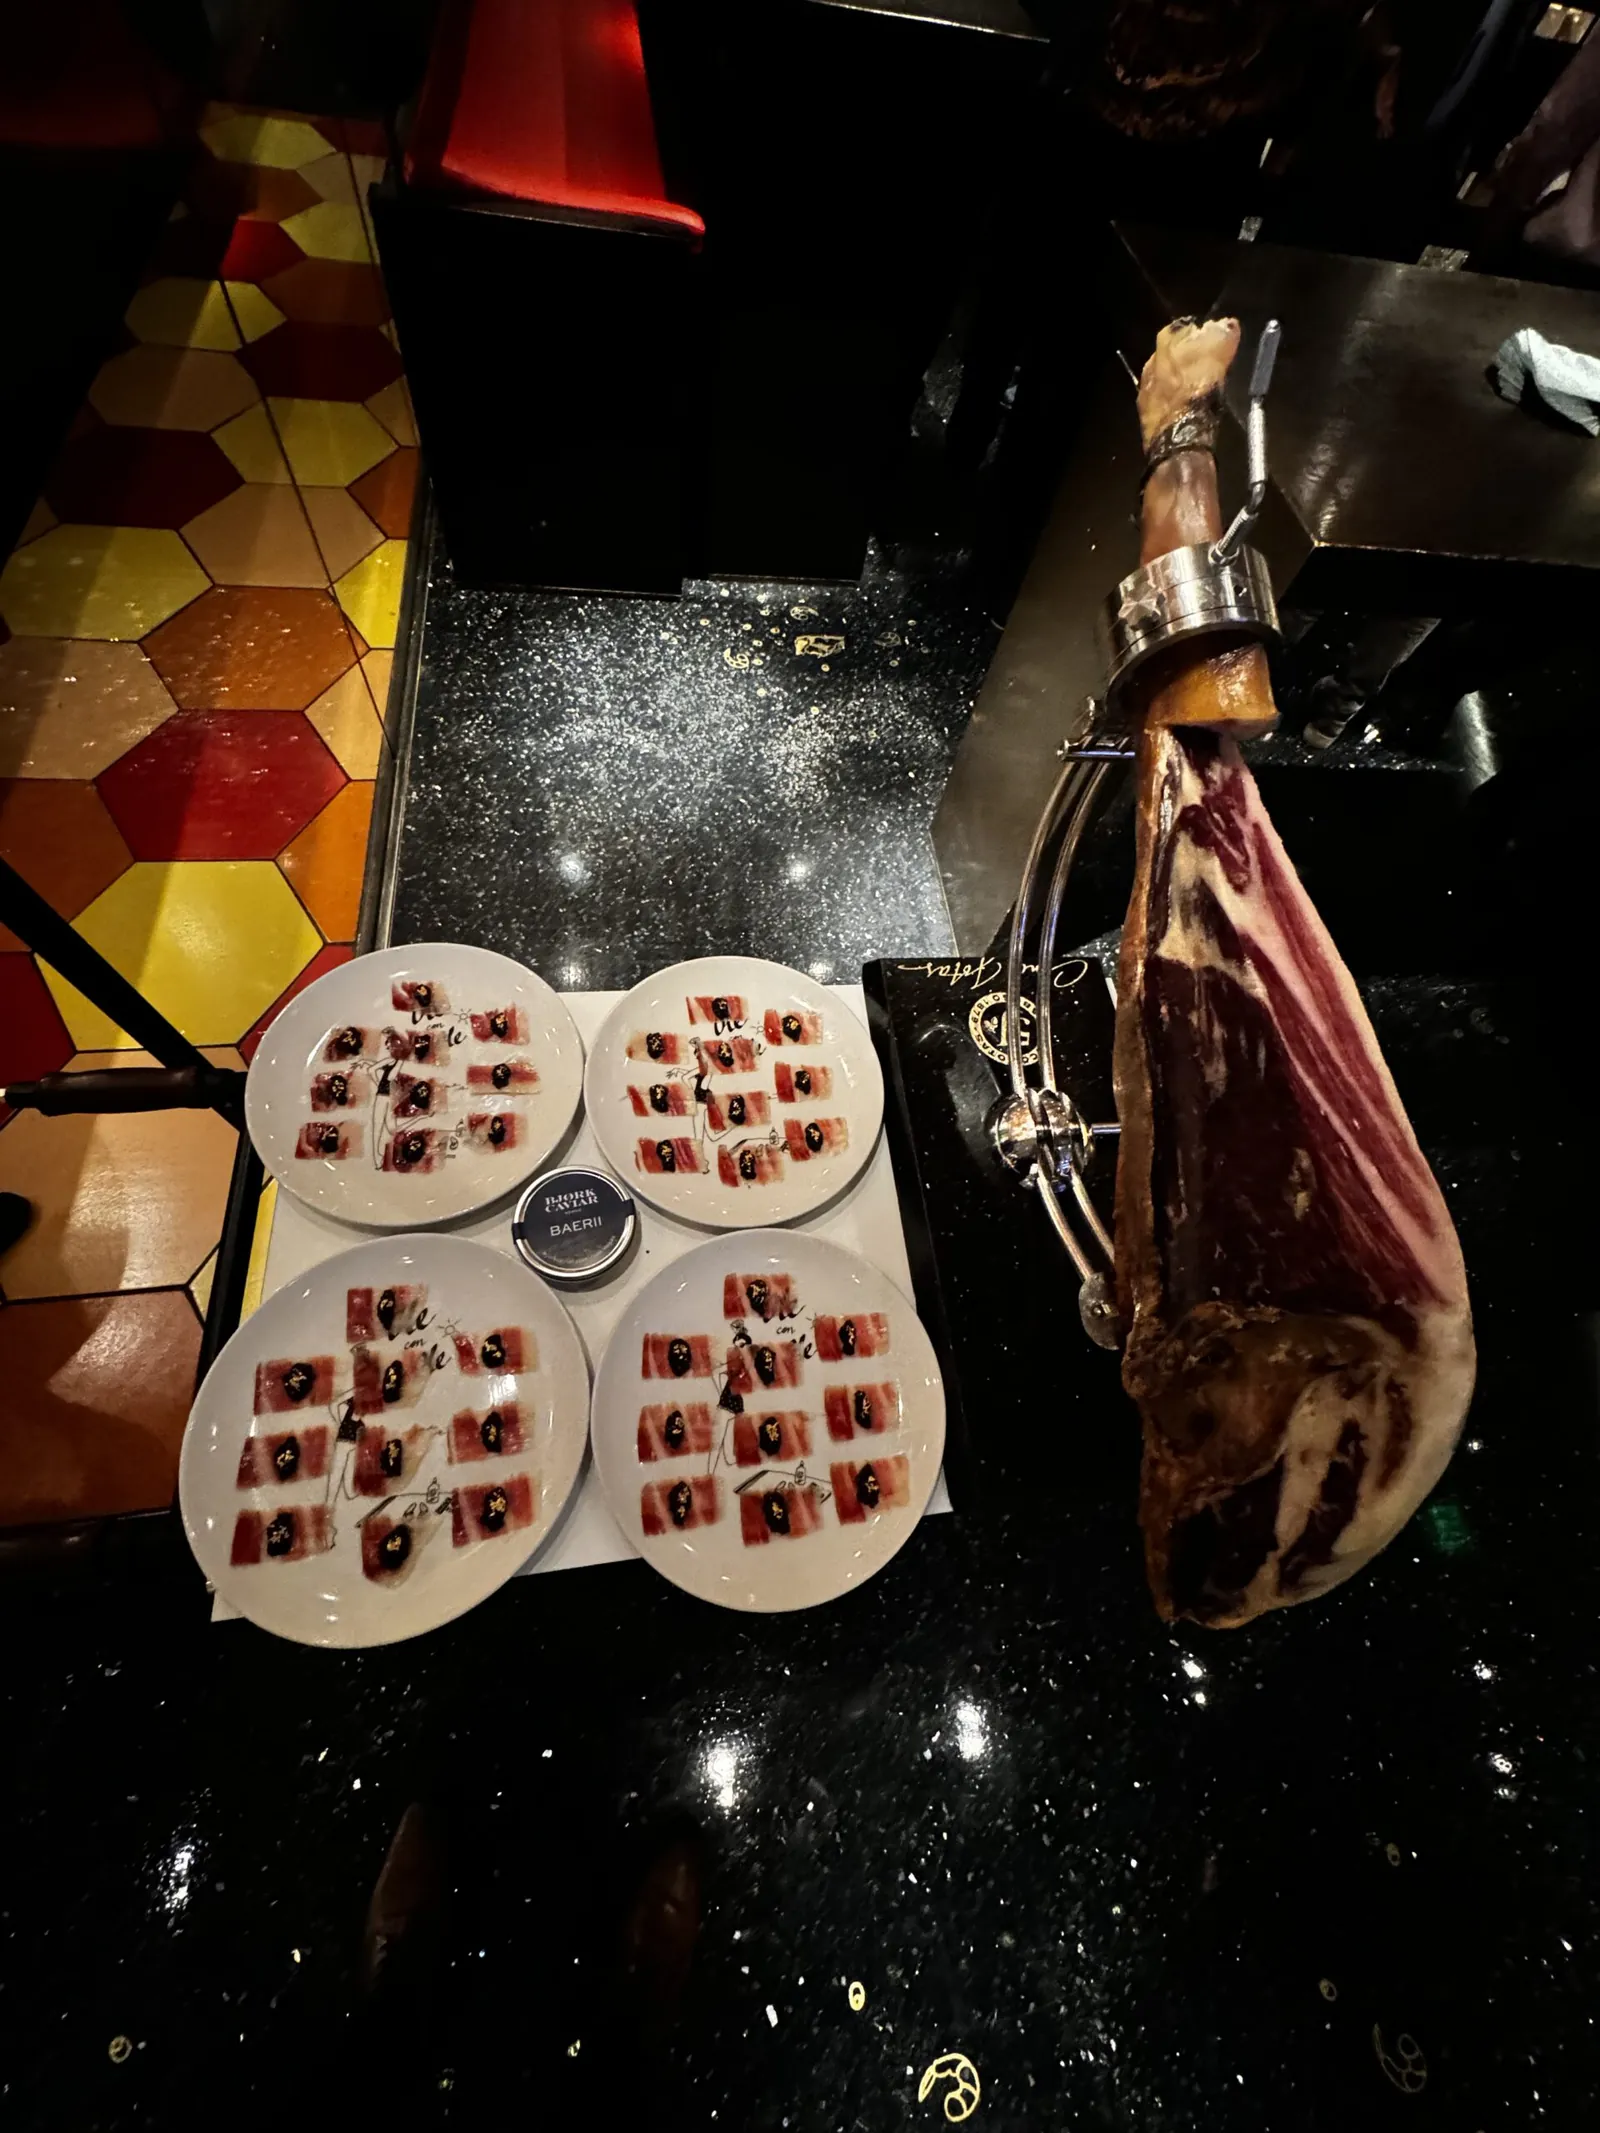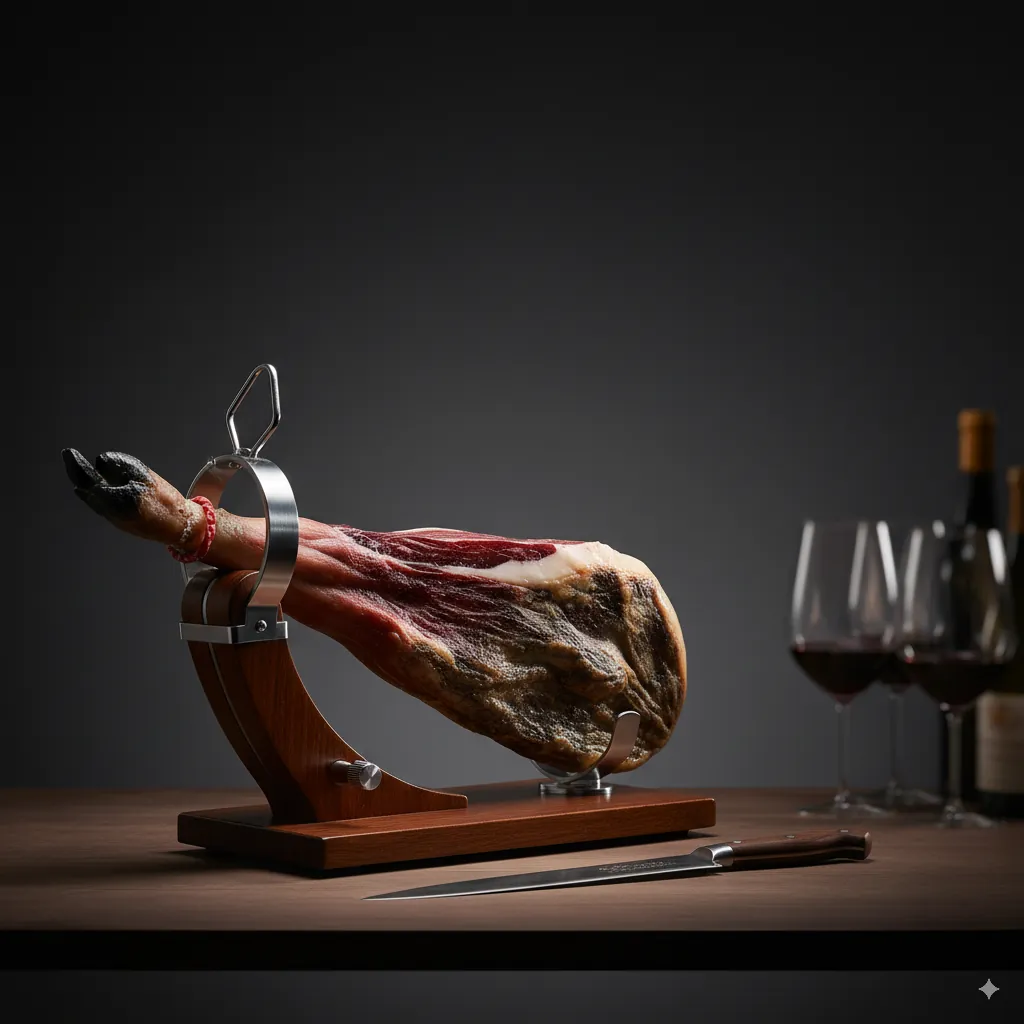
A ham changes as it is carved. Broad sections allow one kind of slice, while areas close to bone often need a different format. Recognising them helps you work thoughtfully and explain why two bites from the same leg can feel different.
Maza: the broader face
This is the substantial section usually accessible with the hoof pointing upwards in a conventional setup. It provides a generous carving surface and is often succulent. It is therefore a common starting point when a leg will be eaten at an event. The exact texture depends on fat, curing and the condition of that particular ham.
Babilla: a narrower section
The narrower face between the leg bones has less depth of meat. It often feels firmer and may dry sooner after opening. For slower consumption, carvers often start here while keeping the maza protected. Follow the supplier's advice for the individual leg.
What does contramaza mean?
Terminology varies between carving traditions and commercial descriptions. Contramaza is sometimes used for the face opposite the maza or grouped with the babilla; other descriptions distinguish smaller areas. For practical carving, identifying the bones, grain and available surface matters more than treating the names as identical compartments in every guide.
Punta: the hip end
The punta is the end opposite the hoof. Its balance of meat and fat gives it its own character. The shape requires you to adapt the size and path of a slice. Not every leg allows every section to be presented in slices of exactly the same dimensions.
Jarrete and caña: the shank area
These are narrow areas around the joint and long bones. More fibrous meat can be cut into small dice. There is no need to insist on a paper-thin slice if the working position becomes unsafe or the meat tears. Keeping different formats separate also makes the presentation clearer.
| Section | What to observe | Possible serving format |
|---|---|---|
| Maza | Broad surface and fat distribution | Thin slices |
| Babilla | Shallower meat and firmness | Slices adapted to the area |
| Punta | Shape and balance of fat | Appropriately sized bites |
| Jarrete | Fibres and proximity to bone | Small dice when suitable |
Where to start and how to continue
Choose according to the pace of consumption and the condition of the leg. Keep the working area clean and the carving surface level; put the knives aside before turning the ham. Continue with the step-by-step carving guide or learn how to use trimmings and bones.
During a guided ham tasting, a short explanation of the different sections adds context without turning the service into a lengthy lesson.
Explore ham carving for weddings, corporate events and private celebrations.
Check availability ↗